Working on the V86P expansion bus
If you remember from this post, I'd previously reverse engineered the expansion interface pinout on the back of my V86P laptop and determined that it looked just like an ISA bus, but with the voltage rails removed (and replaced by grounds), with one exception that was connected to the 5V rail via a pull-up resistor. I'd mused at the possibility of building a board to let you hook up a regular ISA card - and that's exactly what I decided to do. Part of the motivation was to try connecting up an XT-IDE to hook up a more modern hard disk, thus allowing me to make a backup of the existing drive, and also to make it easier transferring data onto the laptop. What's more, once I'd confirmed the XT-IDE worked without issues, I could set about potentially replacing the internal hard disk controller.
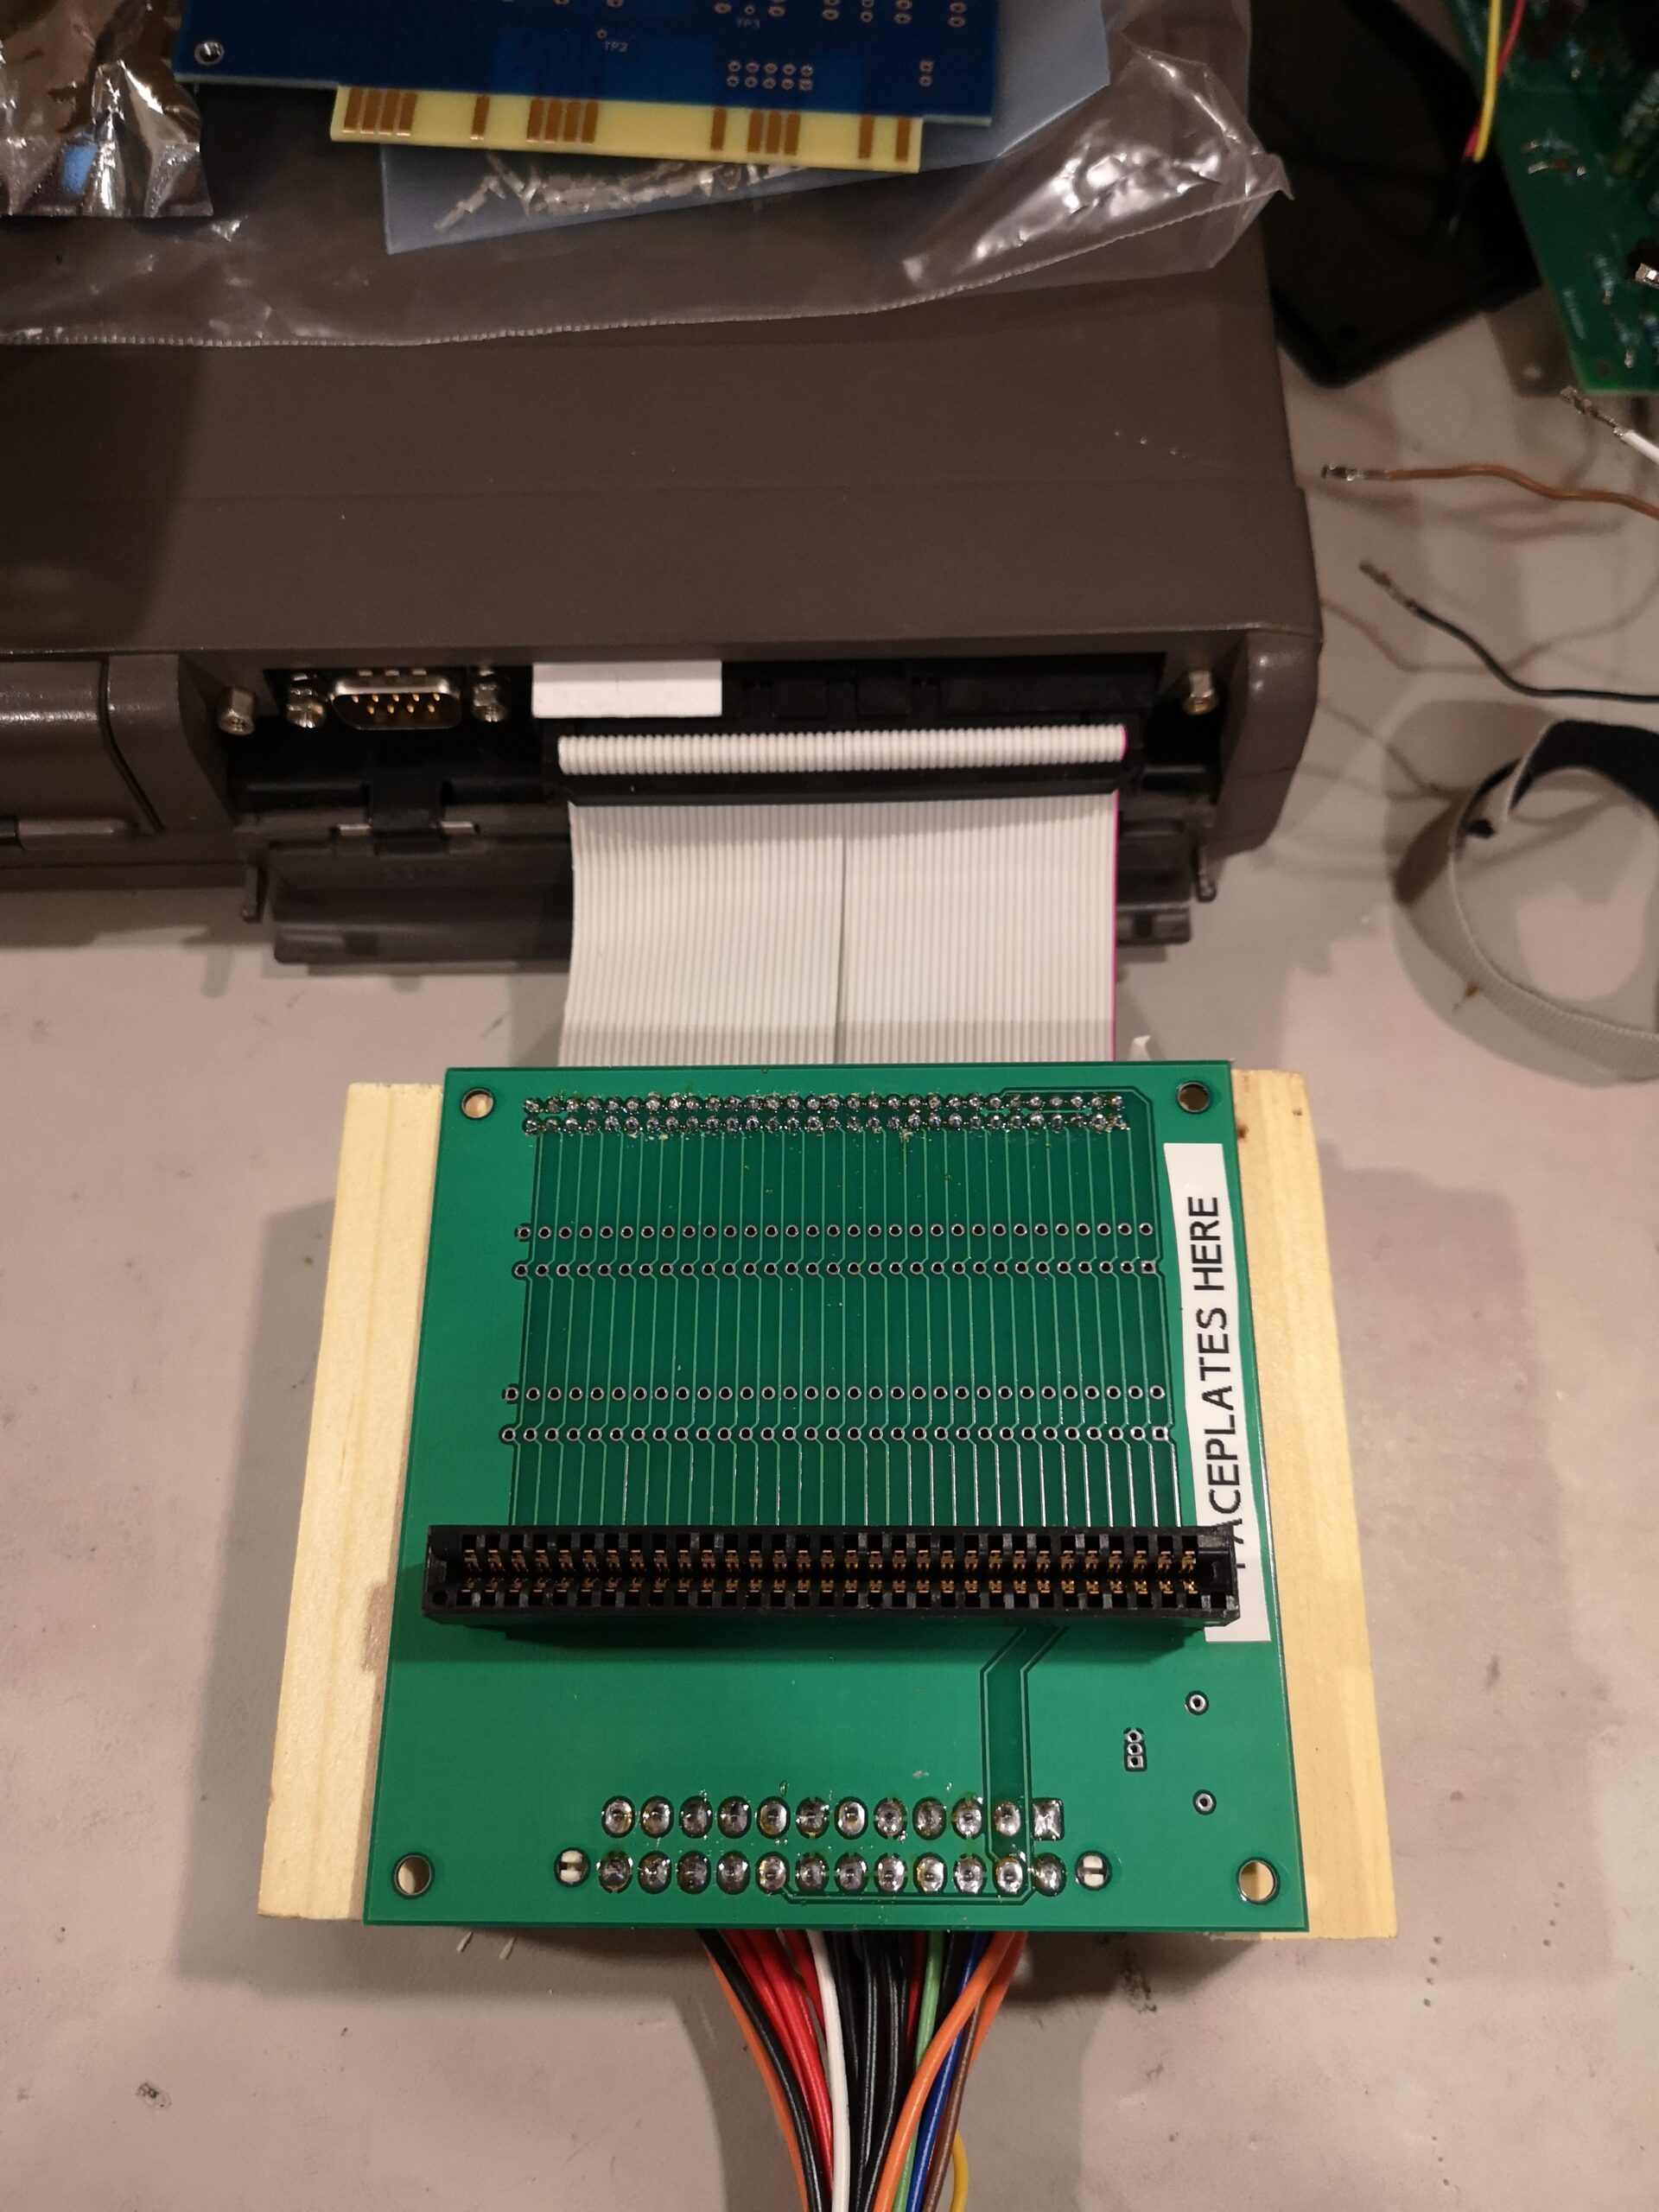
The backplane itself is a very simple affair - ISA is a pretty simple bus. The main issue was generating all the missing power rails - the easiest way to do this was to provide a connector for an ATX PSU. ATX has the benefit of having soft power control, all you need to do to power on the unit is to connect the PS_ON line to Ground, and disconnect it again to power off. The laptop provides that signal line that gives 5V when powered on, so it was just a matter of connecting that to a MOSFET between PS_ON and Gnd (with the appropriate resistors) and the laptop would power the external PSU on and off automatically.
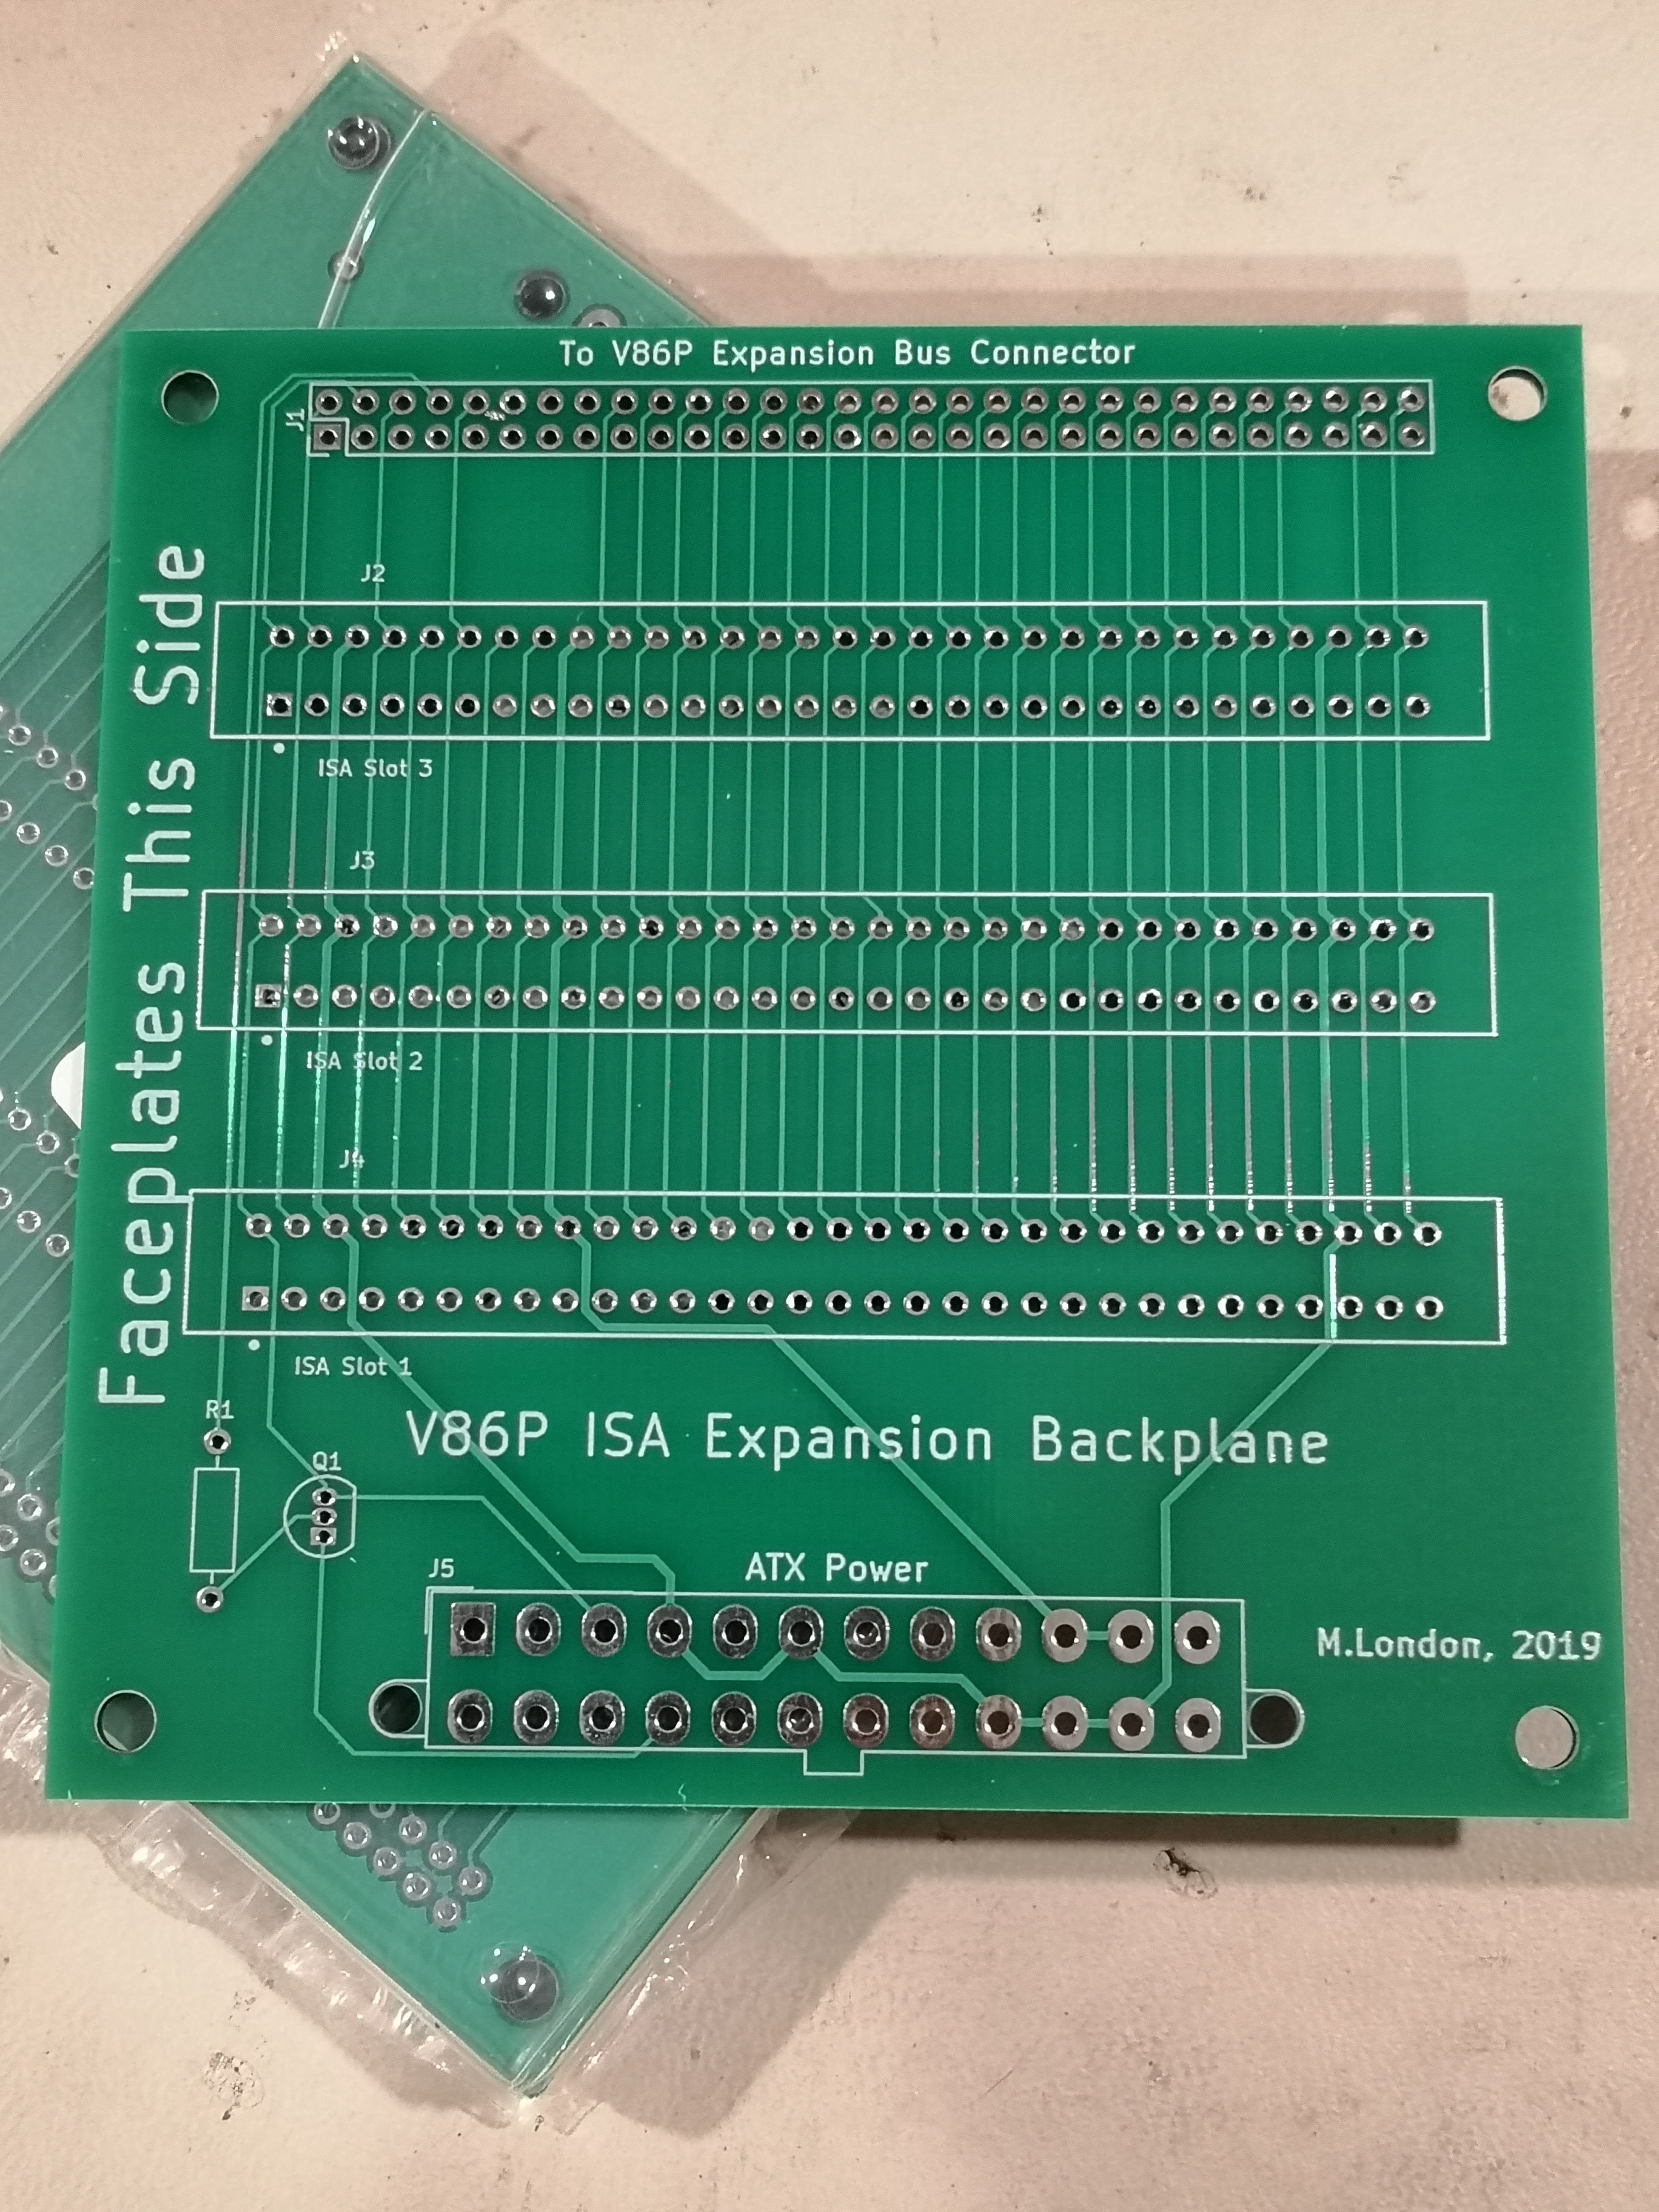 I decided to make a board with room for three cards - one day I'd like to have sound and networking for this machine. But for now the only card I have to test is an XT-IDE (acquired from Glitchwrks as a kit). The card-edge connectors themselves are quite expensive, so as I only had one card, I only ordered one connector. I had the board fabricated at Elecrow and set about putting it together. Imagine my horror when I went to double-check my connections when I discovered that I'd flipped the two sides of the ISA sockets around! Luckily it doesn't really matter which way up the board goes, so I just soldered the connector onto the other side of the board. So what if it's technically upside down? If I ever end up wanting to do another board, I'll fix that up.
Having gone over everything with a multimeter to make sure I wasn't shorting anything together, or connecting any of the power rails back to pins on the laptop expansion connector, I went ahead and plugged it into the laptop. I hooked up an ATX PSU, turned that on, and then turned on the laptop - low and behold, the ATX PSU sprang to life and everything worked as expected. Initial tests complete, now I needed a card to test with, which meant assembling my XT-IDE kit. The kit itself is really easy to assemble - it's all through-hole components and not too densely packed. The only thing I couldn't do was test it in a regular PC (I don't have anything functioning on-hand with ISA slots), so I'd just have to hope everything worked as expected!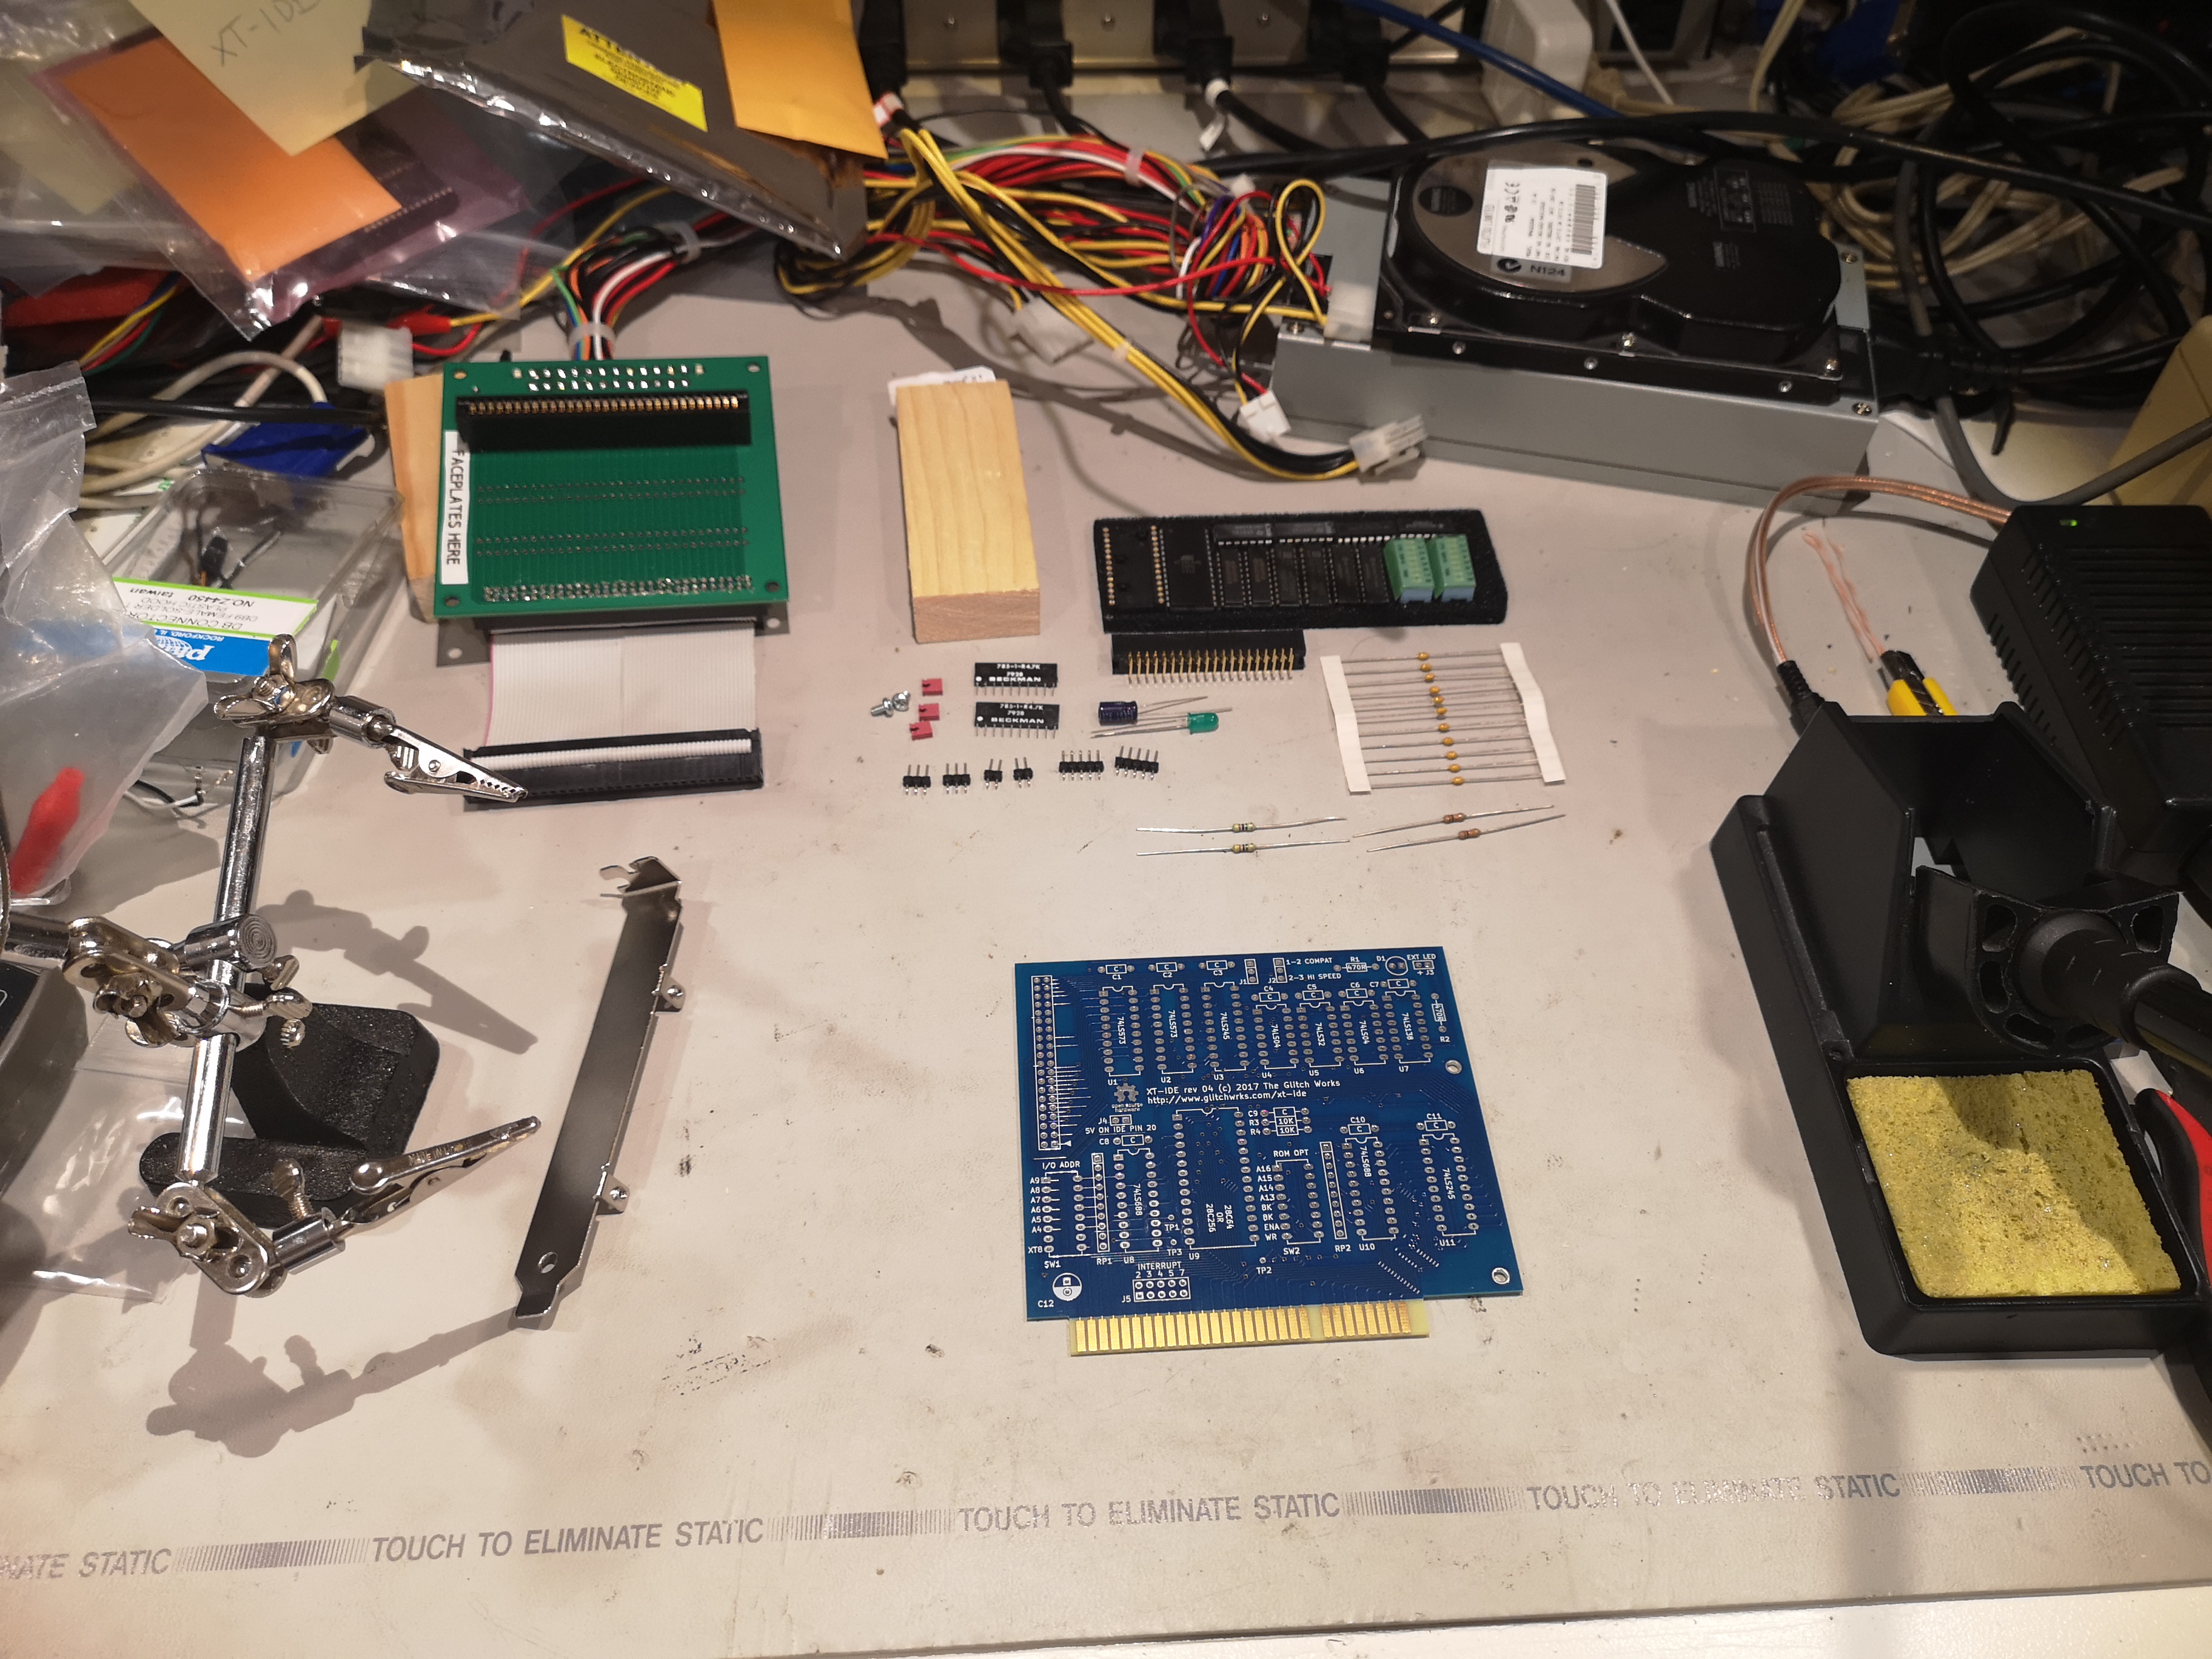
I went ahead and plugged in my freshly assembled XT-IDE, set the jumpers to values that should be reasonable for an XT system, and powered it up. This time I was met with errors - it appears that dropping the XT-IDE's EEPROM into memory space normally occupied by the top 384k of RAM in this 1MB system made the BIOS a bit unhappy - complaining about memory errors. After changing the settings to limit it to 640k RAM and the system was much happier, and I was greeted with the XT-IDE Universal BIOS screen, showing the available boot devices.
With this working, I took an old IDE hard disk and hooked it up to a USB-IDE adapter, then connected that up to my Linux PC. I added the resulting /dev/sdX block device to a VMware Workstation VM as a raw disk map and used that to install MS-DOS 5.0. Then I shut down the VM, and mounted the drive in the OS to copy across a few other useful bits and pieces. Once I was happy, I unmounted it, disconnected it from my main PC, and connected it up to the XT-IDE. Powering on the V86P again allowed me to boot from the IDE drive and everything works as expected (noting that an 8086 is reaaaaaaly slow calculating free disk space on a partition that's more than a gig). I was able to access the internal hard disk as D:, so I used this as an opportunity to back up everything on the original drive.
Now I just need to keep an eye out for a cheap 8-bit ISA sound card (I'd love to grab an 8-bit SoundBlaster of some variant, or maybe build a Snark Barker), and possibly an 8-bit network card (an NE1000, or build an isa8_eth). I might also look at re-spinning the backplane board - the power requirements should be pretty slim, so it ought to be possible to put some voltage regulation on the board itself and just power it from a simple brick (or USB-PD) - maybe even from the V86P's own PSU with a break-out dongle that plugs into the power socket.


Leave a comment
You must be logged in to post a comment.