Reverse Engineering the V86P PSU (Part 1)

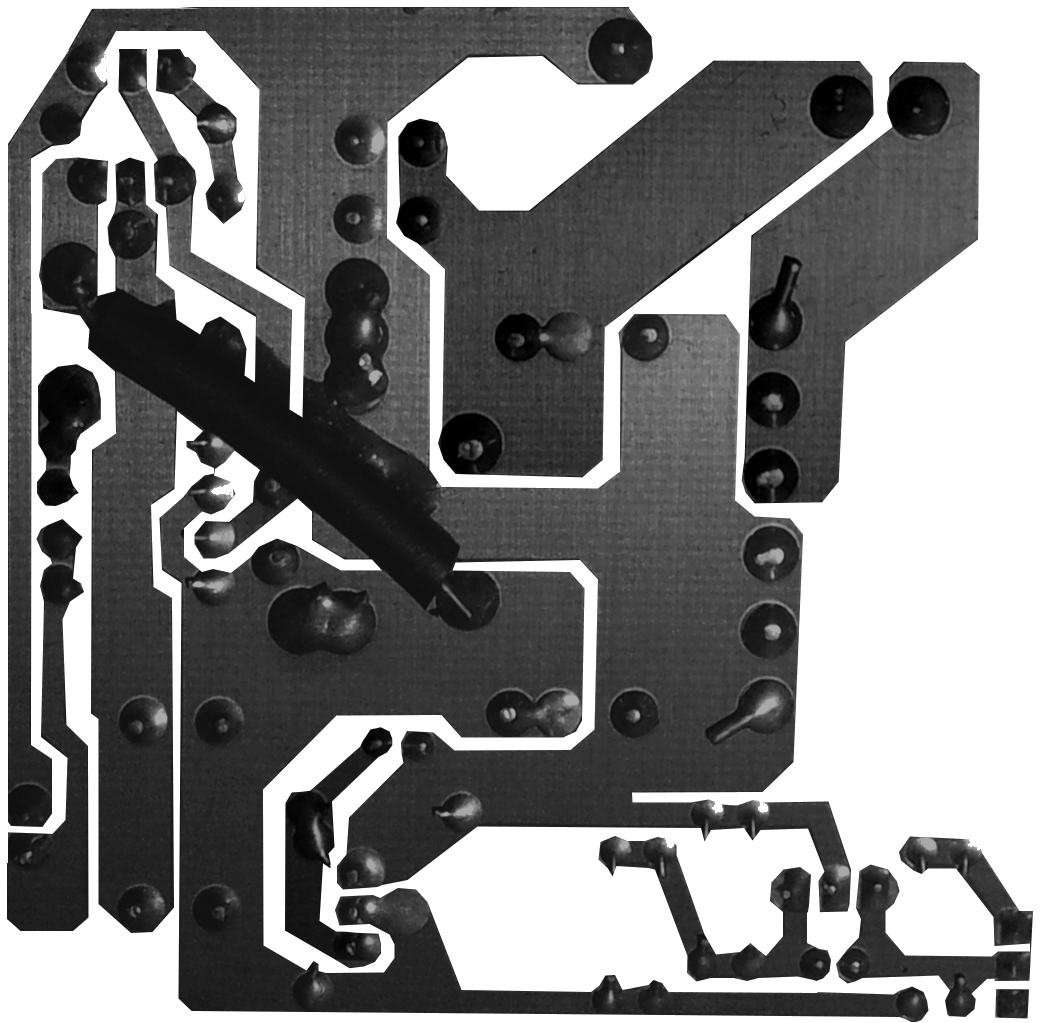
My V86P did not come with a PSU - this makes things all sorts of interesting. Whilst 8.5V isn't hard to get from a bench supply, it's not a particularly common voltage for off the shelf PSUs, especially not at 4A (which is what the original unit is rated for). To top things off, I've suspected for a while that a good chunk of the NiCd charging circuitry is inside the PSU, rather than than the laptop itself, but precisely how much I didn't know. I started with a few simple tests with an ohmmeter between the various power input pins, and was able to confirm that two pins on the 6-pin PSU connector are connected to Gnd, two pins are connected together (I know from the actsirius1.co.uk site that these are the main 8.5V in), the pin immediately above these connects directly through to the positive pin of the NiCd battery pack, and the last pin is an unknown. The PSU connector is located on a separate PCB under the motherboard, inside a metal housing that makes up half of the battery compartment. A short cable protrudes from this housing which connects to a 6-pin header on the motherboard, and a pin just above the power switch. There's also a separate wire that goes to a ring loop which goes through one of the motherboard screws - presumably chassis ground.
The JVC 26-pin Hard Disk Interface (Part 1)

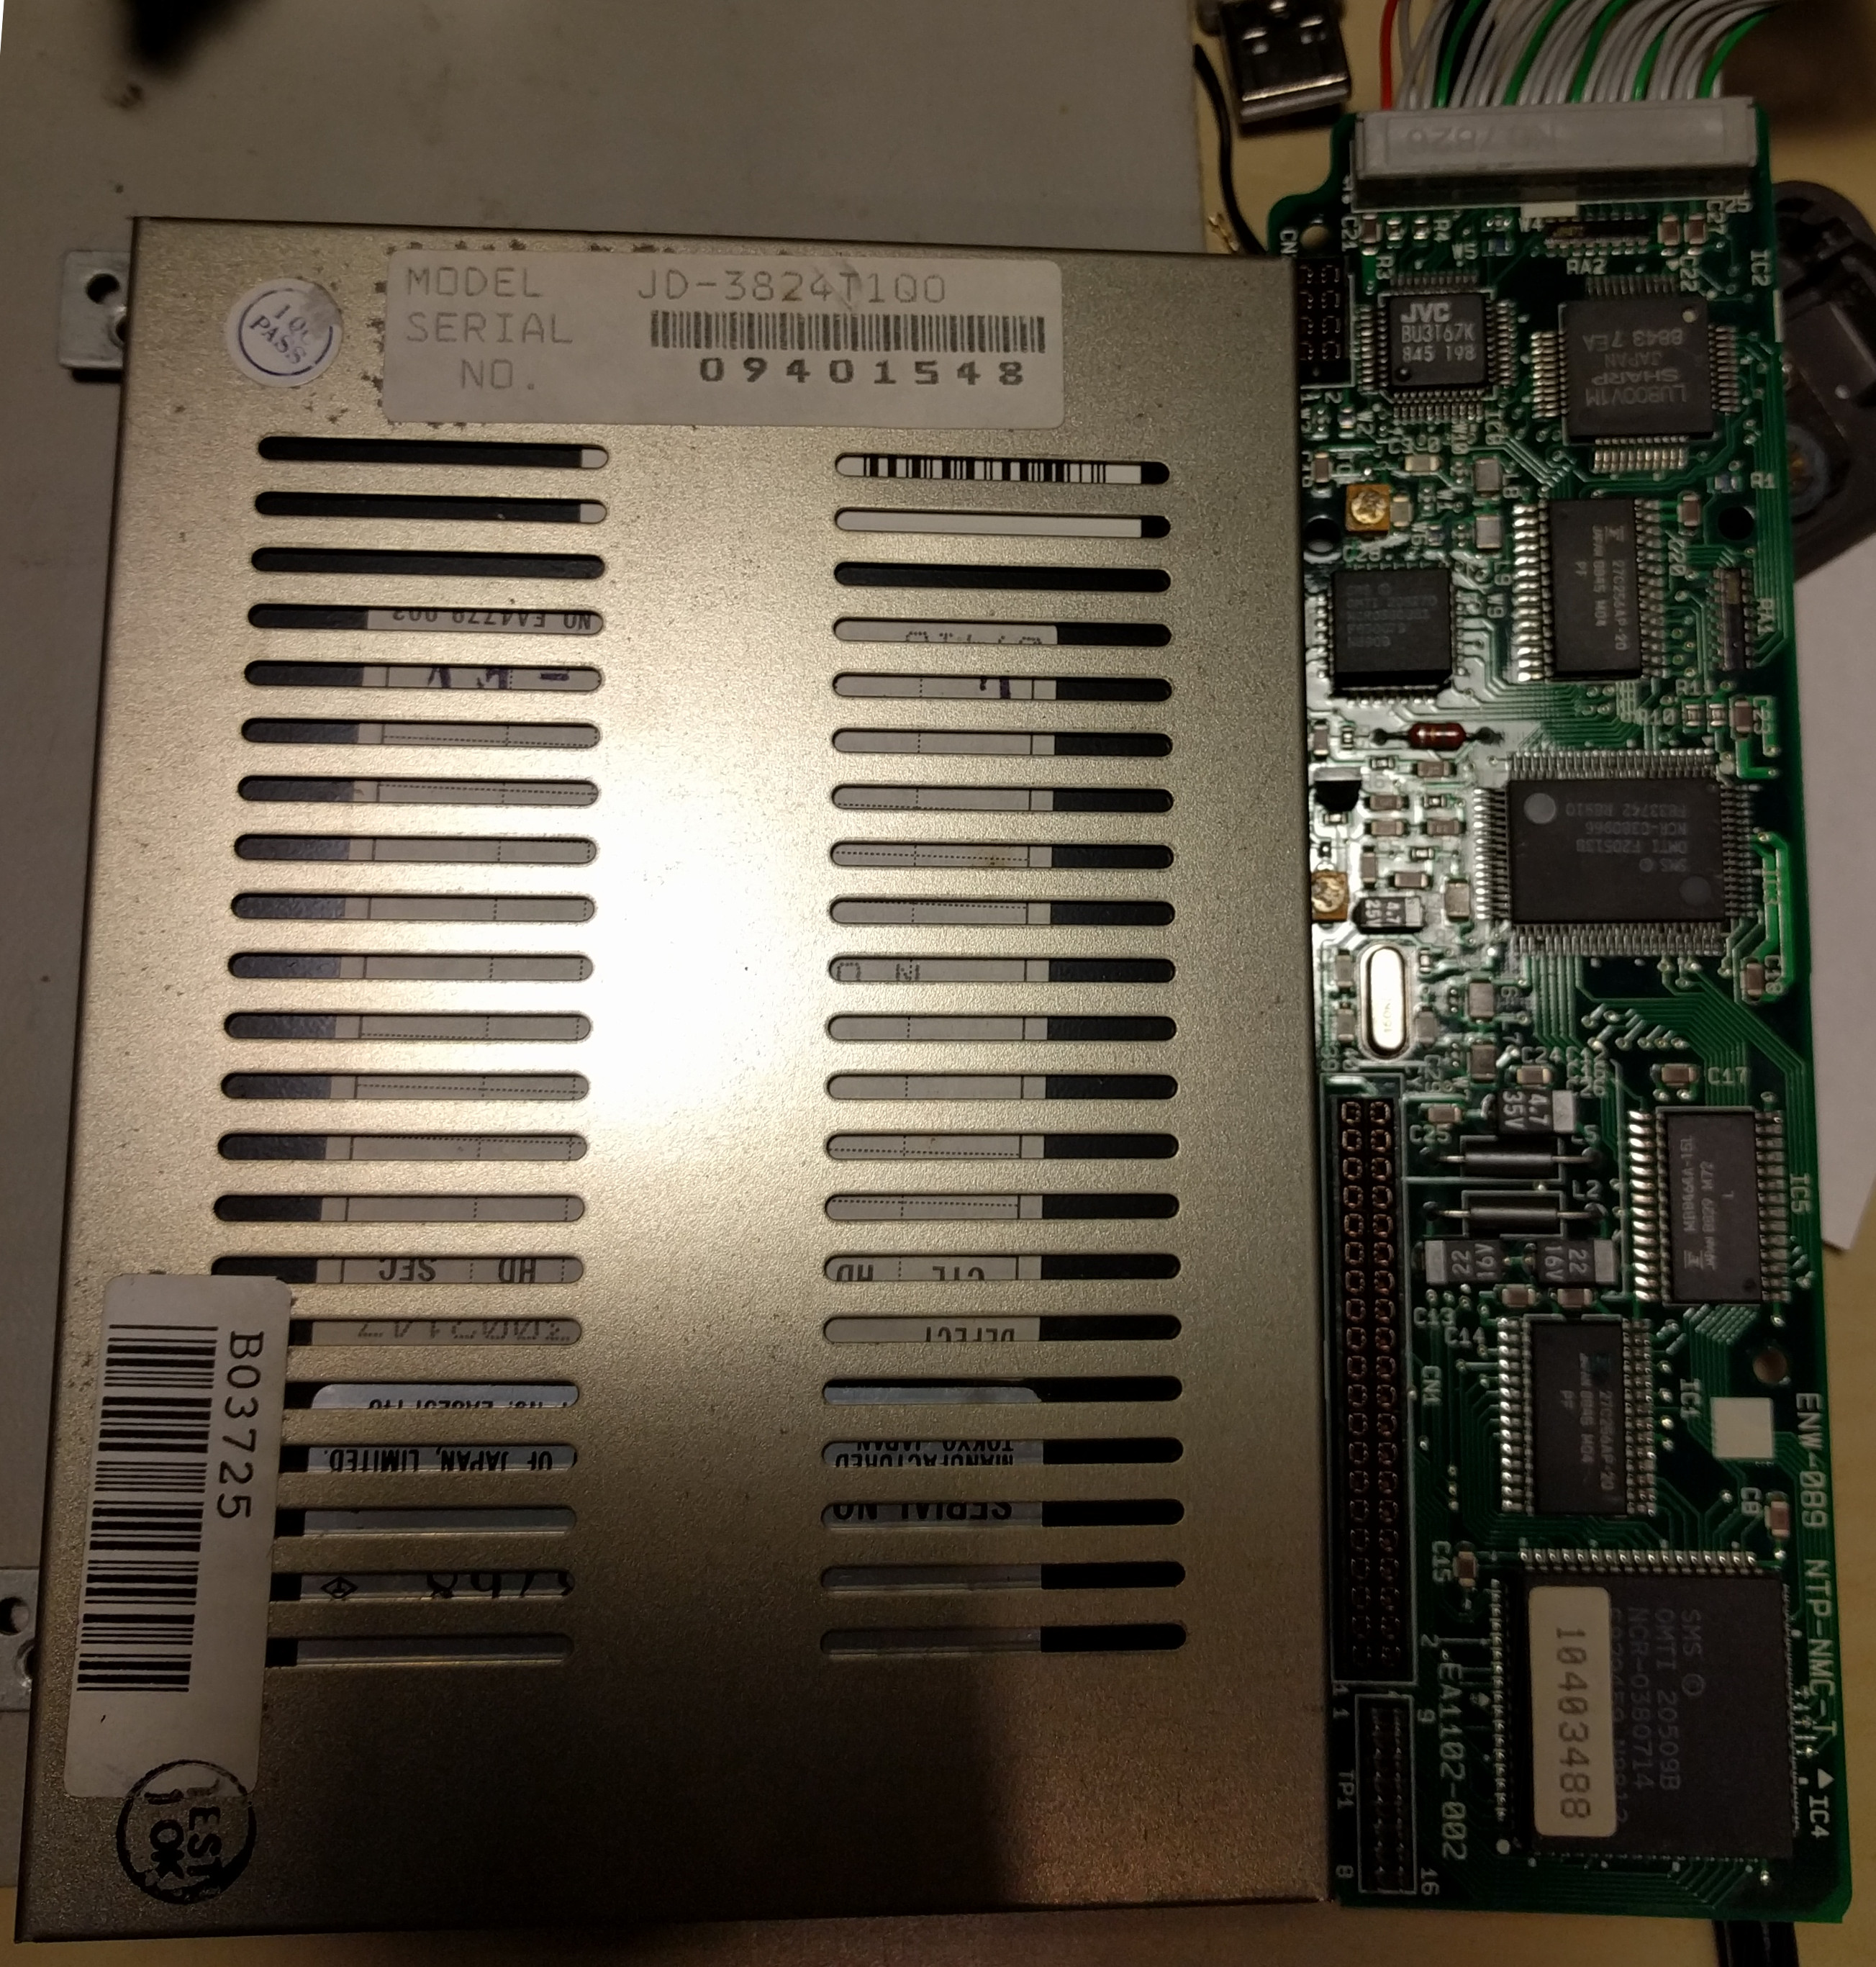
As I've mentioned in a previous post, my V86P is the higher-spec model containing a 20MB hard disk. Back in the mid to late 1980s, IDE was still relatively new and most systems were still using ST-506 interface drives, albeit using RLL rather than MFM to increase data rate and capacity. For example, I remember the Viglen Vig II 16MHz 286 we bought as our family PC back in '88(or so) had a 40MB RLL drive. Laptop form-factor systems were also relatively recent, with the floppy-based Toshiba T1100 being released in 1985 and the hard-disk enabled T1200 in 1987. Obiviously desktop drives of the era weren't ideally suited to laptop use, at that time 5.25" half-height was the dominant form-factor. The ST-506 interface also required two separate cables connecting the drive to the controller: a 34-pin control cable on which drives could be daisychained, and a 20-pin data cable from each drive directly back to the controller. These connectors alone take up almost 3.5" of space along the edge of the HDD logic board, and that still leaves power, which makes developing an alternate interface fairly logical.
Getting things running
As I mentioned in my previous post, my friend Chris over in the UK was able to aquire a Victor V86P laptop, and very generously sent it on to me. The V86P is an IBM PC XT compatible laptop, released in 1989 by Victor Technologies. Quite a neat little unit, they had the following specs:
- 80C86 CPU running at 10MHz (with 4.77MHz available as a keyboard shortcut)
- 512k or 1MB RAM
- Either 1x 720k FDD and 1x 20MB HDD
Or 2x 720k FDDs - CGA graphics, capable of driving either the LCD panel or an external display
- Monochrome LCD display (no backlight)
- 1800mAh 6V NiCd battery pack
- CMOS BIOS configuration storage, backed by supercapacitor
- Real Time Clock
- 1x Parallel Port
- 2x Serial Ports (16450 UART)
- Expansion bus connector
What’s that? It’s Retrochallenge time again?

I'm sure pretty much everyone in the retrocomputing world would agree when I say that nostalgia is a major driving force in the hobby. Everyone has their own stories about the systems in their collection: maybe it was their first computer, maybe it was the system they had at school, maybe it's something they drooled over at the time but weren't able to get. For Retrochallenge 2017/04, I thought it would be good to have a trip back to revisit one of the systems I regretted selling when I was a teenager and subsequent adventures with a replacement.